How to Make Mosaics at Home
-
Welcome to the wonderful world of mosaic making!
If you are just starting to make mosaics, then congratulations and welcome to a very fun, creative, and beautiful form of art. With any new project, there is a lot to learn and to practice. Mistakes will be made, but that is the best way to learn. Here are the different areas of mosaics that you will be learning about and using: tools, tiles, backers, adhesives, grouts. Let’s talk a little about each one.
Tools - wheeled nippers are the most common hand tool used in mosaics. Knowing now to hold them and cut different shapes with them is essential. Knowing how to maintain them is important as well.
Tiles – there are many different materials used in mosaics like tiles, mirror, found objects, ceramics, pebbles, rocks, and more. Each have their own characteristics and ways to be cut, glued and grouted.
Backers (also called substrates) - many varieties of backers are used. Terra cotta pots, wood, mirrors, glass, cement board, and much more. Backers also have nuances such as, some can be used outdoors but some cannot, some need to be sealed, etc. In addition, there are different glues that are appropriate with different backers.
Adhesives – as mentioned above, you need to know what adhesive works best with your backer and your tiles. Weld bond is a common white PVA glue used on indoor mosaics. Weldbond Adhesive is a water based PVA glue, has no fumes, dries clear and water resistant, bonds to most any surface, is non-toxic and cleans up easily. Elmers Glue works just fine on projects not intended for the outdoors or any longterm expectations.
Grout - last, but not least, everyone’s favorite subject. There are 2 kinds of grout – sanded and unsanded. If your grout lines are thinner than ¼” then it is recommended to use unsanded grout. If you’re grouting ceramic mosaics, a typical sanded, ready to use, or high performance grout should work fine.
-
Make the Mosaic Steps!
Step 1: Start by sketching a design onto a piece of paper (or freeform it!).
Step 2: Transfer your design onto the wood (or other backer).
Step 3: Gather Your broken tiles into color categories.
Step 4: Glue each piece individually.
Step 5: Let glue sit until dry.
Step 6: Mix the grout with water until consistency is …
Step 7: Spread the grout using spreading tool and get it in between all cracks and crevices.
Step 8: Using a sponge and water, lightly wipe off excess grout. Let sit for 24 hours.
Step 9: Spray household cleaner to get grout dust off using a paper towel or cloth.
Step 10: Now you have a beautiful mosaic!
-

Practice unlimited creative exploration!
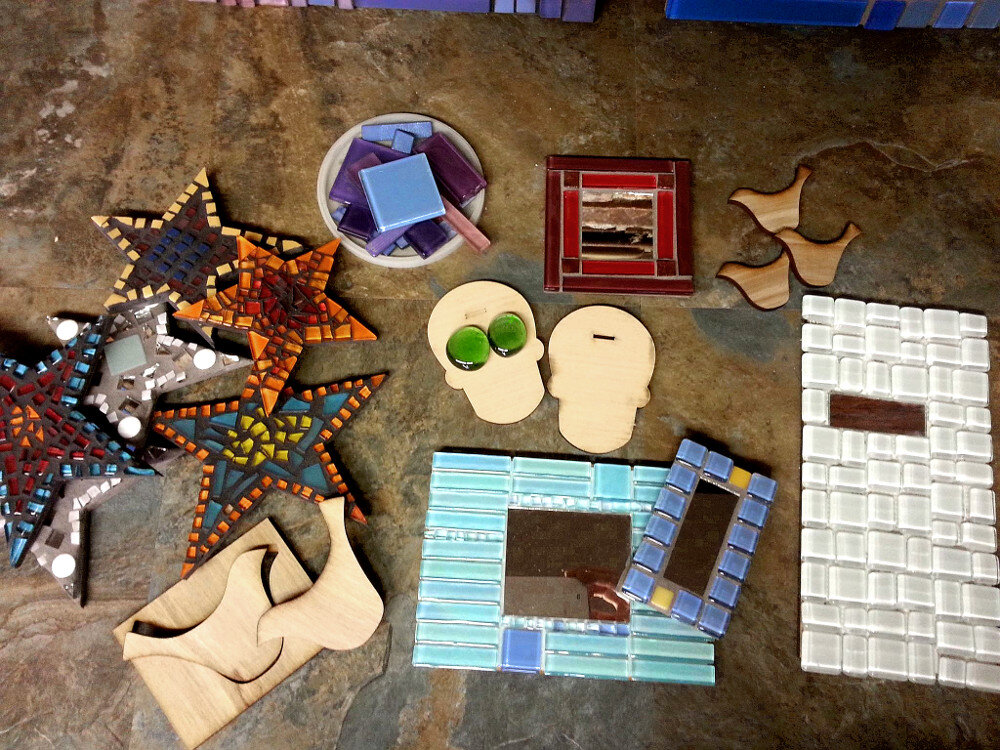
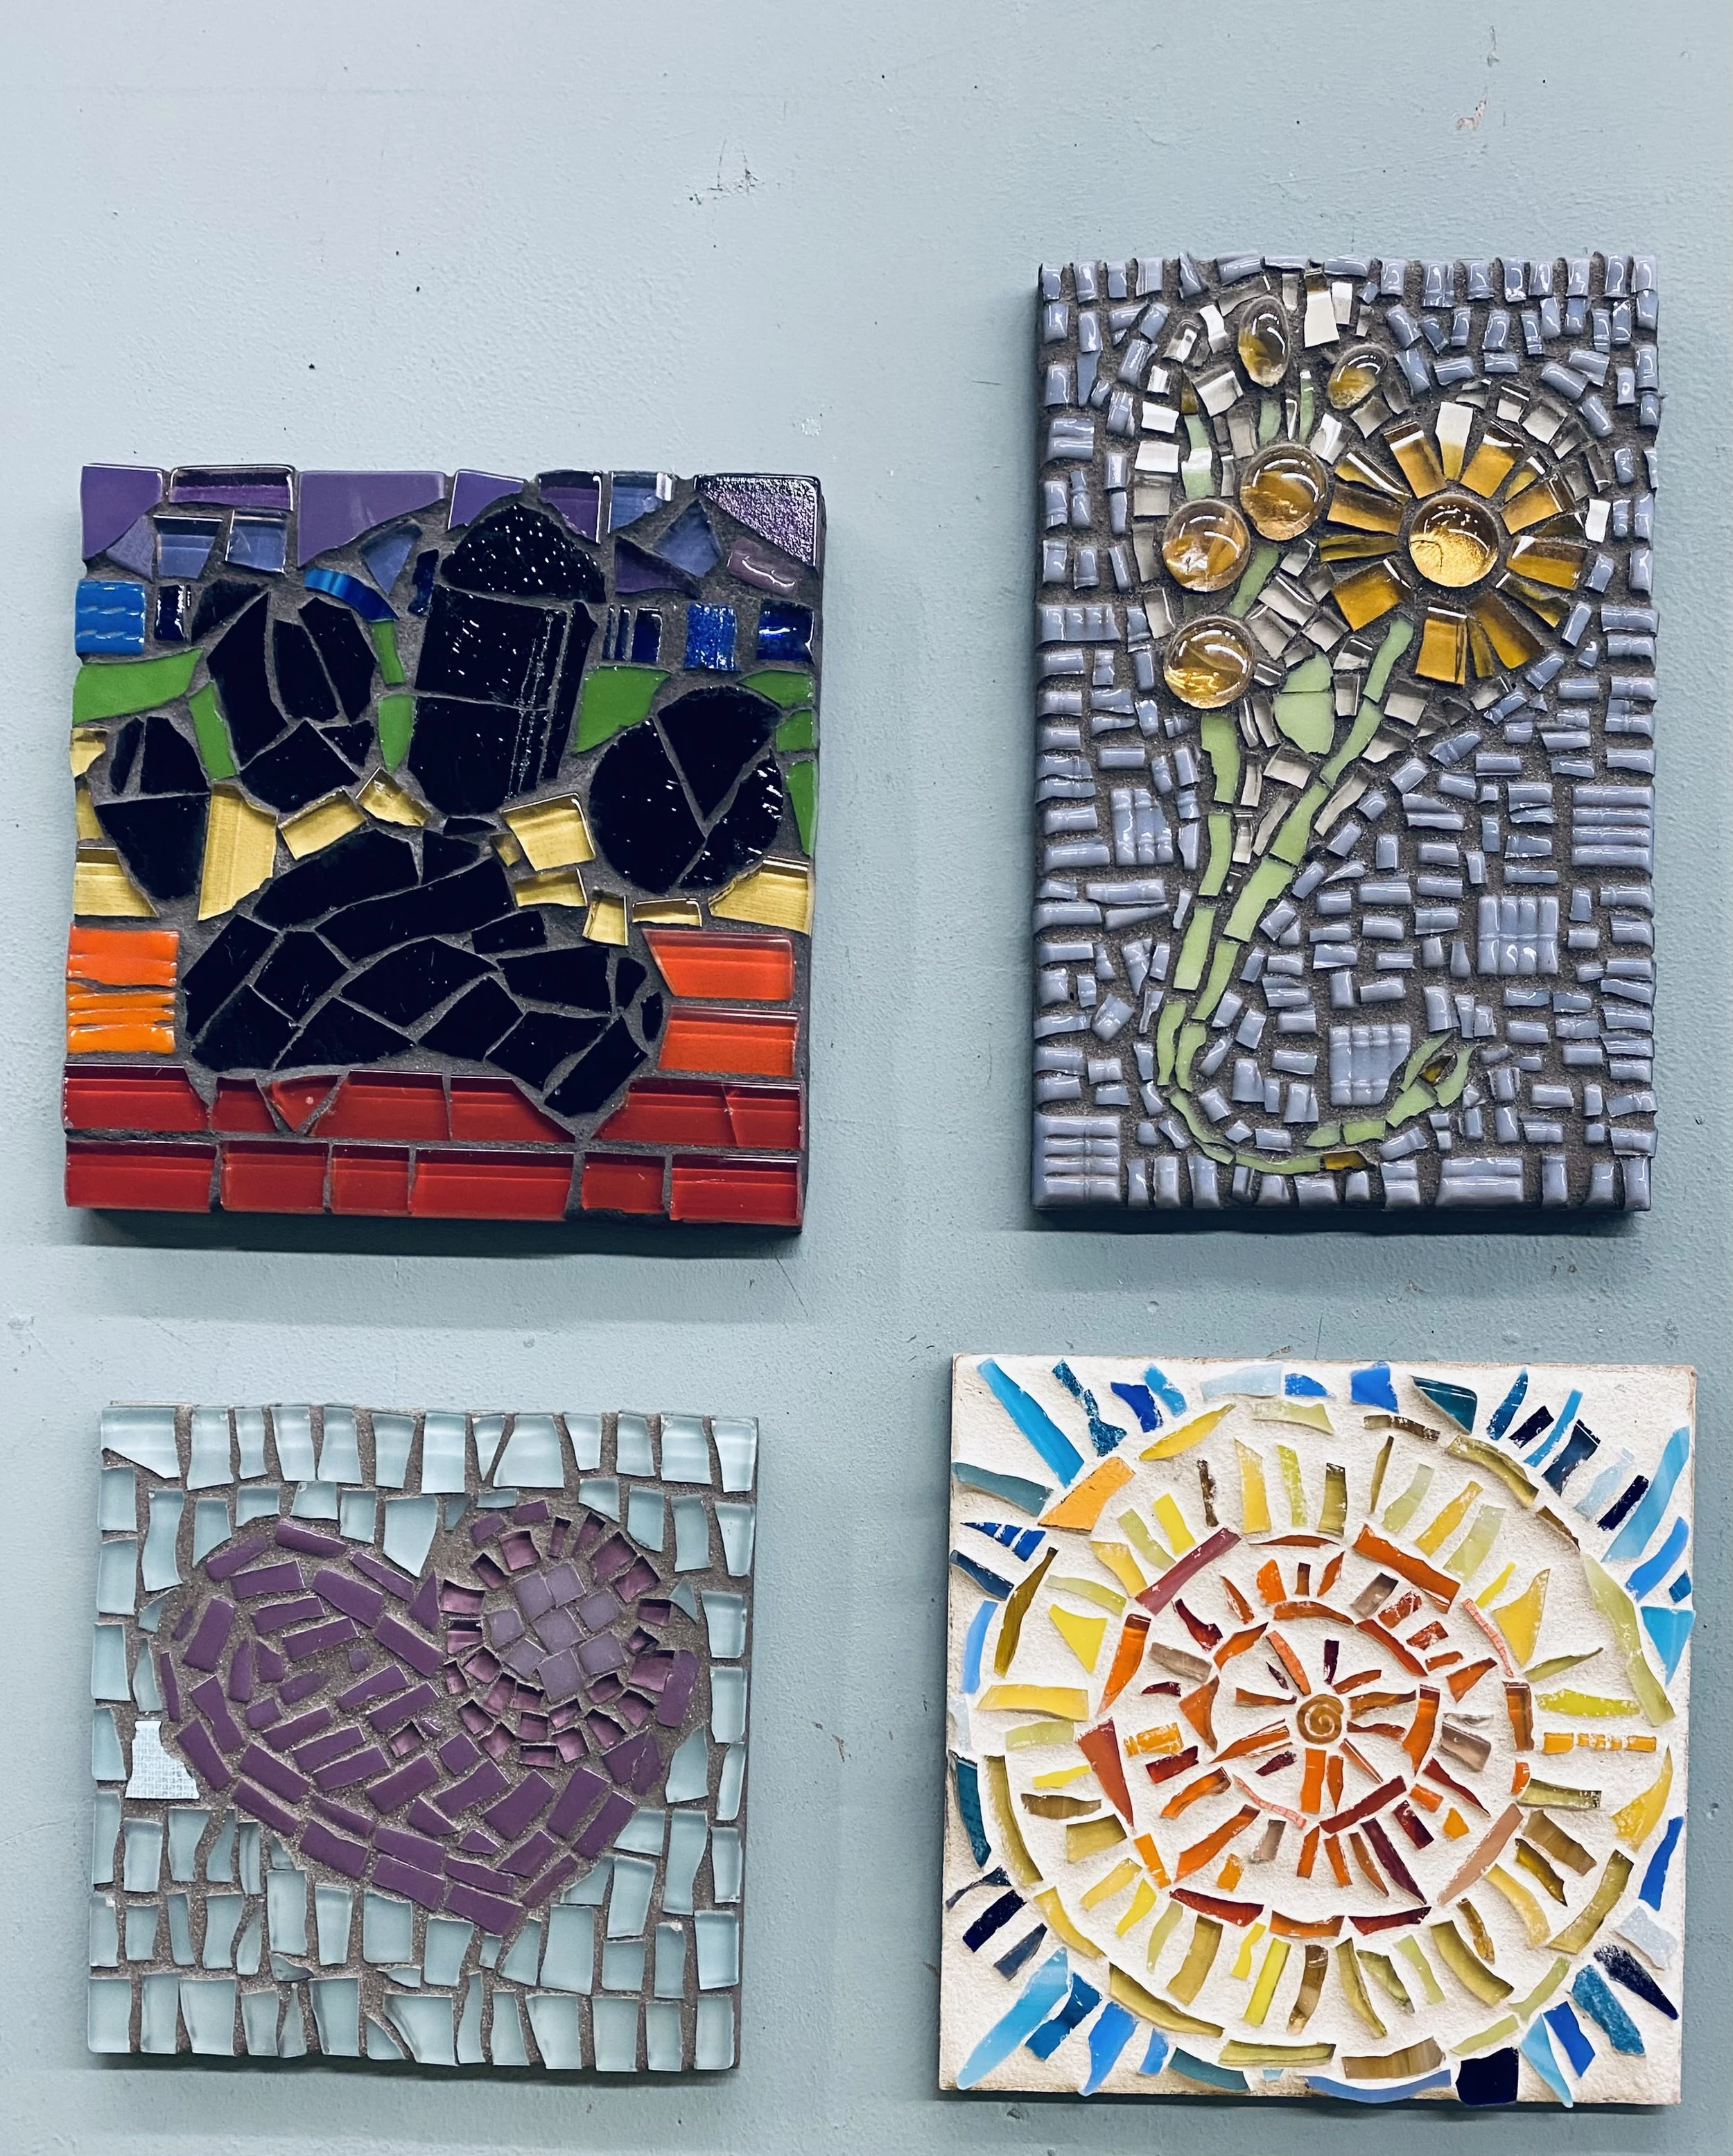
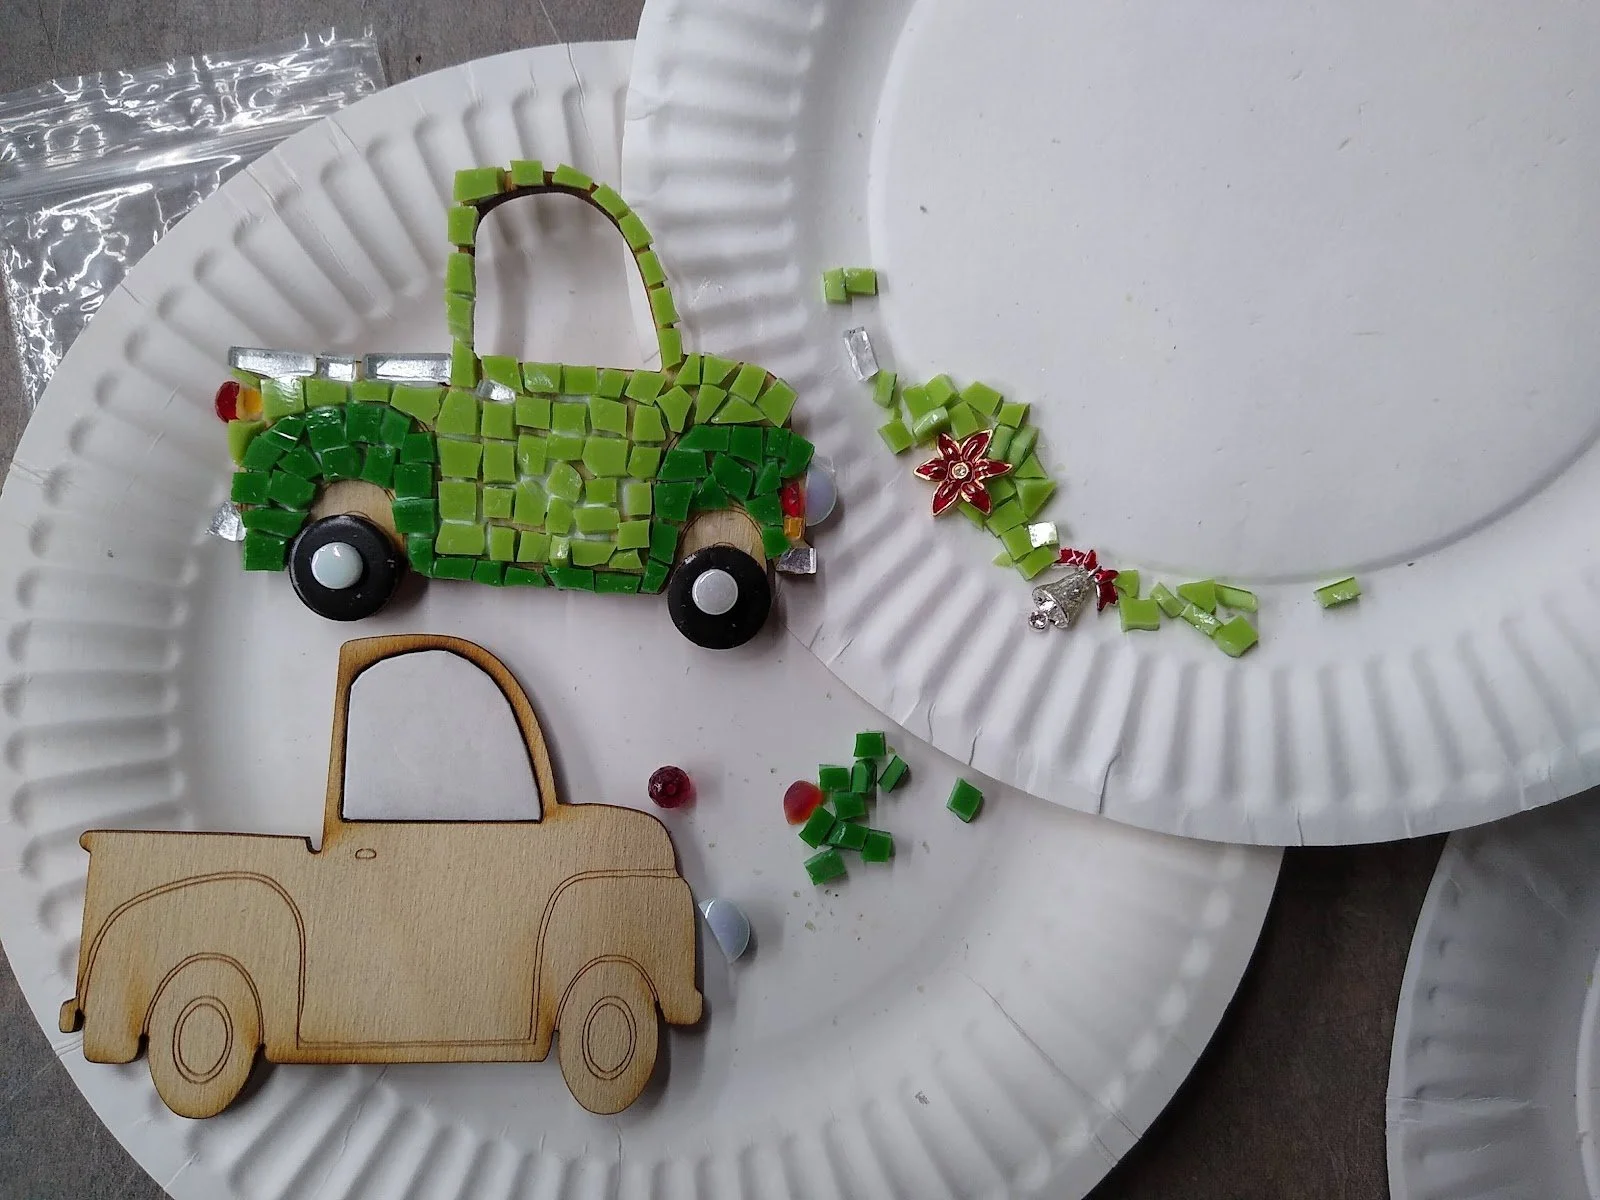
When experimenting with mosaics, you can create a wide variety of items like: picture frames, planters, tabletops, coasters, decorative boxes, house numbers, wall art, vases, candle holders, jewelry, birdbaths, decorative trays, small sculptures, stepping stones, decorative bowls, tea light holders, and even mosaic-covered items like eggs or small animal figurines; depending on your skill level and desired design, you can use different materials like glass tiles, ceramic pieces, broken china, mirrors, sea glass, or even recycled materials to achieve unique looks.
Key points to remember when experimenting with mosaics:
Explore different types of tiles, including glass, ceramic, stone, beads, and even broken dishes to create diverse textures and colors.
You can create simple geometric patterns, intricate floral designs, abstract compositions, or even replicate images using mosaic techniques.
Mosaic can be applied to various surfaces like wood, concrete, metal, terracotta pots, or even glass.
Start with smaller projects like coasters or picture frames if you are new to mosaic art and gradually progress to larger pieces like tabletops or wall art.